US Dollars

When purchasing any piece of hardware, especially hardware which is a significant investment of your hard earned funds, it is of the utmost importance that you be aware of what is involved in its proper usage. This is especially the case for sewer inspection cameras. Knowing all of the steps of how to use any machine or tool like a plumbing camera will get you much farther along in the direction you want to be going in with a job. Plus, it will also help keep you from having to take it in for costly and time consuming repairs. Because of this, Spartan Tool is here today to provide you with a basic guide on how to use a sewer inspection camera.
Uses of a Pipe Camera
If you are looking to learn more about how to use a sewer inspection camera, you might be wanting to know about what kinds of applications they can be used for. Drain cameras have a number of different uses, which make them a versatile tool for those looking to invest in one. Some of these uses of a plumbing camera include:
Finding Obstructions in a Pipe
If for some reason a client has a drain that is getting backed up or is unable to get the water they need, a sewer inspection camera can help find what the cause of it is. They can go far down into the drain to uncover what kind of obstruction is causing water to not get to where it needs to be. Clogs can range from grease, to nests, to small objects, and more. Some times, a client might have a whole other level of problem, which is roots from trees or other plants making their way into their plumbing.
Finding Damaged Plumbing
In some instances, the problem could actually be from a pipe that has collapsed for one reason or another. This can end up saving your customer quite a bit of money, because then only the one area needs to be repaired or replaced instead of having to do things on a larger and more expensive scale.
How to Use a Sewer Inspection Camera
Depending on the particular make and model of drain camera you have purchased, some factors may have minor differences to them. For the most part though, many of the basic steps to using one are fairly similar and straightforward. That being said, while these steps for how to use a sewer inspection camera are fairly universal, it is still best practice for you to look at your own individual plumbing camera’s user manual for any minor differences that are unique to it. This will help to ensure that you have the best possible probing experience and that you do not accidentally damage your pipe camera in any way, shape, or form.
Before You Get Started
Before you begin any sewer or drain inspection job, you want to make sure that you are abiding by all proper safety protocol. This not only helps to keep you safe, but also your team, clients, and hardware as well. This is not something that can be overlooked or thrown to the side just for the sake of convenience or saving time or effort. Safety first is a widely used expression for a good reason, especially when it comes to plumbing inspection.
First and foremost, you will want to make sure that you have every last part of your skin covered by proper safety attire. Things such as rubber gloves, safety glasses, coveralls, rubber boots, industrial face masks, a hard hat, and more are an absolute must. Sewer and drain water is full of bacteria that could infect you and send you to the hospital if your skin or any other part of you were to come into contact with it.
Part 1: Getting the Sewer Camera Up and Running
The first step in a sewer inspection camera operation is getting the camera itself up and running. Many modern pipe cameras will have a rechargeable battery that can last 8 or more hours, so you do not need to worry as much about plugging it into an outlet while you are in the process of working. If for some reason you do need to do that, make sure that the outlet is properly grounded and that there is no water in the area that the power cable is running through. This will help to ensure that you do not run into any problems involving electrocution as well as any problems that could ruin the sewer camera itself. Needless to say, but a nasty shock is something that is better left avoided by you and your plumbing hardware.
With that out of the way, you will want to switch the sewer inspection camera on. With some units you will want to push the power button and hold it for more than two seconds. Where the button is located will depend on the individual unit. This will start up your sewer inspection camera and show you the progress that you have made thus far on your monitor hub. As long as there do not appear to be any problems with your hardware or the area surrounding the plumbing that you will be inspecting, you should be able to proceed with your operation.
Part 2: Beginning the Inspection
When you want to begin your survey of the drain or sewer that needs an inspection, you will want to first make sure that your camera light is turned on. If you fail to do so, all you will see during your expedition is nothing but pitch black. As you might have guessed, this will kind of defeat the entire purpose of trying to actually see what is going on down the line that is causing it to get backed up or have some other sort of issue that is disrupting the normal flow of water. Many sewer inspection cameras will have various light settings that you can utilize in order to get the level of brightness that best suits your current needs for a drain survey.
Part 3: Start Recording
Once you have your pipe camera turned on and the lights on the sewer camera head are set to your preference, you then need to make sure that you are recording everything that your machine is seeing. If you do not, you will not be able to review it later, nor show your client what they need to see.
Each make and model of pipe camera will have slightly different procedures on how to start a new project, but essentially you will want to make sure that you follow your user manual’s guide on how to do so. Otherwise, you will not be able to pick up and record the footage of the plumbing inspection you are doing.
Once you have put in all of the necessary information, you can go back to your plumbing camera’s basic mode. After this, you can begin capturing footage by pushing the record button on your plumbing camera. This will allow for you to be able to record everything your sewer camera is seeing and be able to show it to other people later. While you are in the process of recording, you can also use the keyboard to add in notes and the microphone (should your individual unit come with one) to add voiceover notes so that anyone watching can have what they are seeing explained to them while they are seeing it. Once you have finished recording, you can press the Stop button on your sewer inspection camera.
Part 4: Inserting the Probe and Investigating the Drain or Sewer
Once you have your sewer camera recording footage, you can begin the process of surveying the inside of the plumbing. Keep in mind that while you are doing this, you want to remain kneeling with your hands constantly remaining near the opening of the drain. You also do not want to make short, fast motions. Remember that being overly forceful with your sewer camera cable can end up doing serious damage to your hardware that will cost you a great deal of time, money, and opportunities to get fixed. That being said, just take things slow and easy as you progress. This will not only prevent damage, but also give you a better chance of seeing something that is amiss while you are in the process of surveying the plumbing.
One thing you should also do is to keep water running down the pipe that is in the process of being surveyed by your pipe camera. This will help you considerably by keeping the system a great deal cleaner, thus allowing you to push your drain camera farther along without having to deal with as much friction. Should you come to an area of the plumbing where having water running is preventing you from seeing an area of great importance, then you can temporarily turn it off until you have seen everything that you need to be able to see.
Part 5: Retrieving the Sewer Inspection Camera Cable
Once you have gotten through the plumbing of the system that needs to be surveyed and seen everything there is to see, you can then begin the process of retrieving your pipe camera cable from the line. You will want to do so by employing slow, steady force. Doing so through the use of excessive force or by pushing the cable can end up resulting in you doing considerable costly damage to it or even to the sewer inspection camera itself. The drain camera cable may at some point get hung up during retrieval, in which case it will need to be manipulated in the same manner as it was during the insertion process.
One thing that you should keep in mind is that while you are in the process of retrieving your sewer camera cable, running water is able to be used to flush it down. Like when you are surveying and feeding cable into the drain, this reduces the level of friction and makes it easier to move overall.
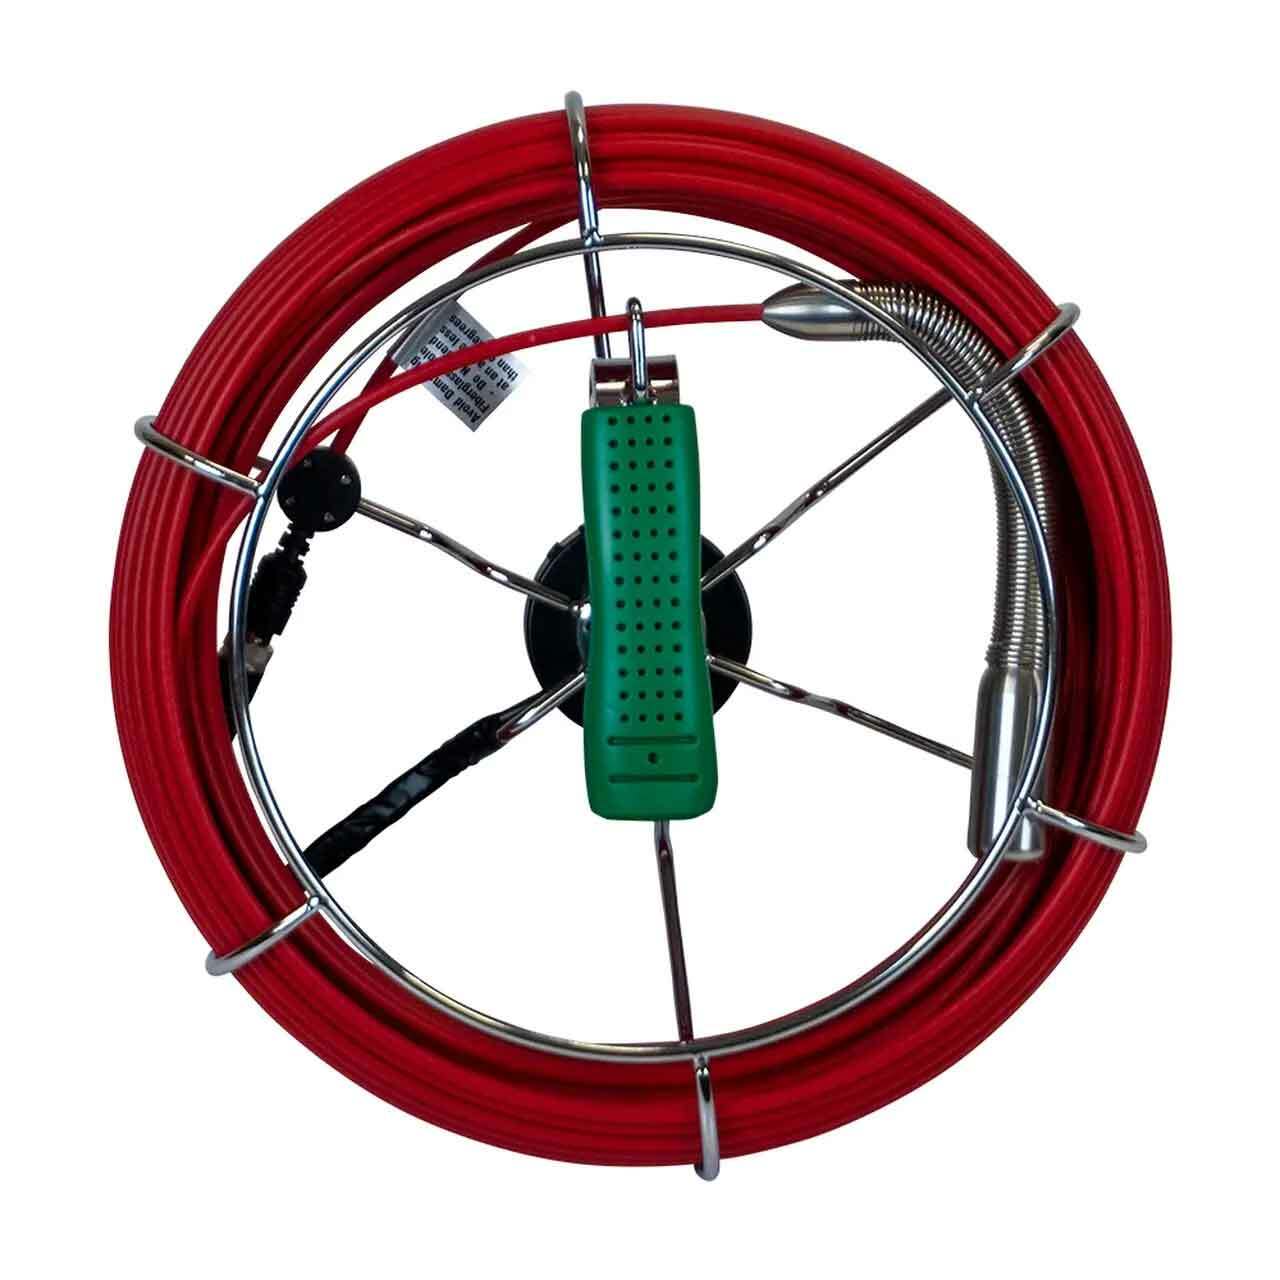
In addition, you should store the pipe camera cable in its reel, not loosely – regardless of whether or not the reel system is a closed reel sewer camera system or an open reel sewer camera system. This will keep your cable neat, organized, easy to transport, and in good working condition. In order to do this, you will want to use one hand to push your cable, while keeping the other close to the cable wheel. From here, you will want to gently and slowly push the drain camera cable slide using the hook of the handle. The cable reel will then rotate and begin to store the sewer inspection camera cable within.
Part 6: Ending the Survey
Once you have fully retrieved your sewer inspection camera’s cable and have it safely back in its reel, you can then end the survey. To shut down your machine, you will first want to make sure that everything on the monitor hub end of things is saved and exited properly. You will want to be absolutely certain that you saved everything where it needs to be and that all notes that need to be there are there. Once you have done that, you can hold the power button for two seconds, as you did when powering it on. The sewer camera will then proceed to shut down.
Should the rechargeable sewer camera battery be low for any reason, your pipe camera will in some way warn you well ahead of time. In some instances, the unit will beep once per second and then proceed to shut itself down without any input from you after 10 minutes. Once this happens, you will need to recharge its battery until it has been completely refilled with power. Because of this, you will want to make sure that you charge the battery of your drain camera in between each and every use. It would be quite inconvenient to run out of power in the middle of a drain or sewer survey, particularly when you are on the verge of finding what is causing the client’s problem.