US Dollars

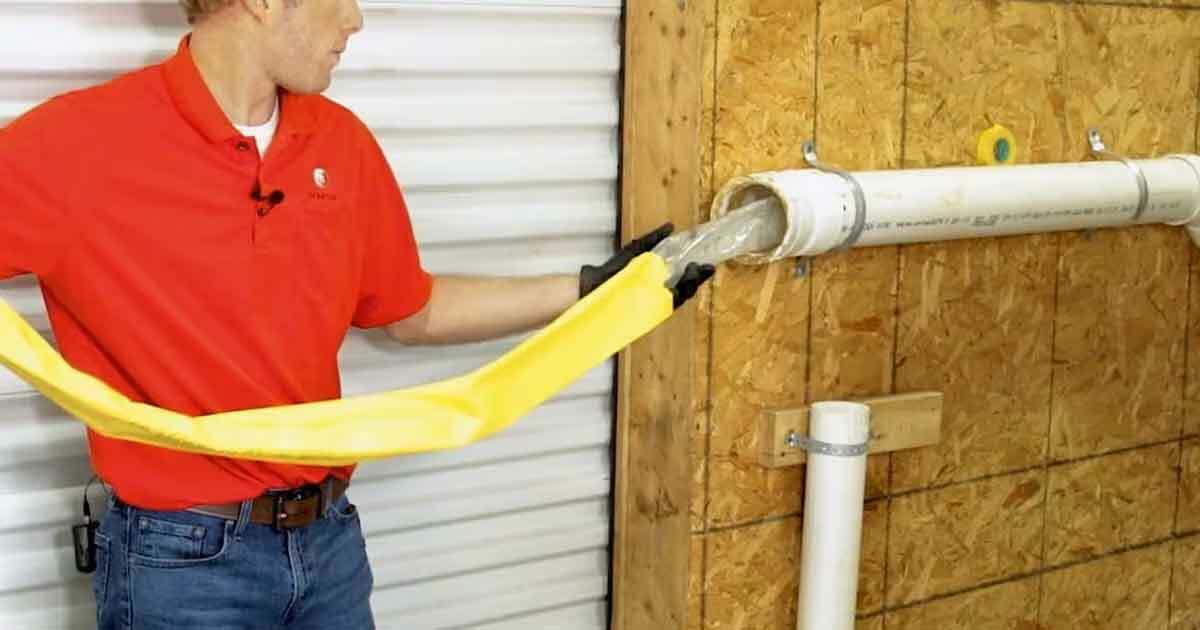
Repairing broken pipes is easier and more convenient than ever with Spartan Patch Complete. This ALL-IN-ONE no dig pipe repair system is packed ready and offers a complete solution for reinstating damaged pipes. Spartan Patch Complete is trenchless and doesn’t require excavation there is little to no disruption and the project is completed within the day.
Each Spartan Patch Complete Kit includes:
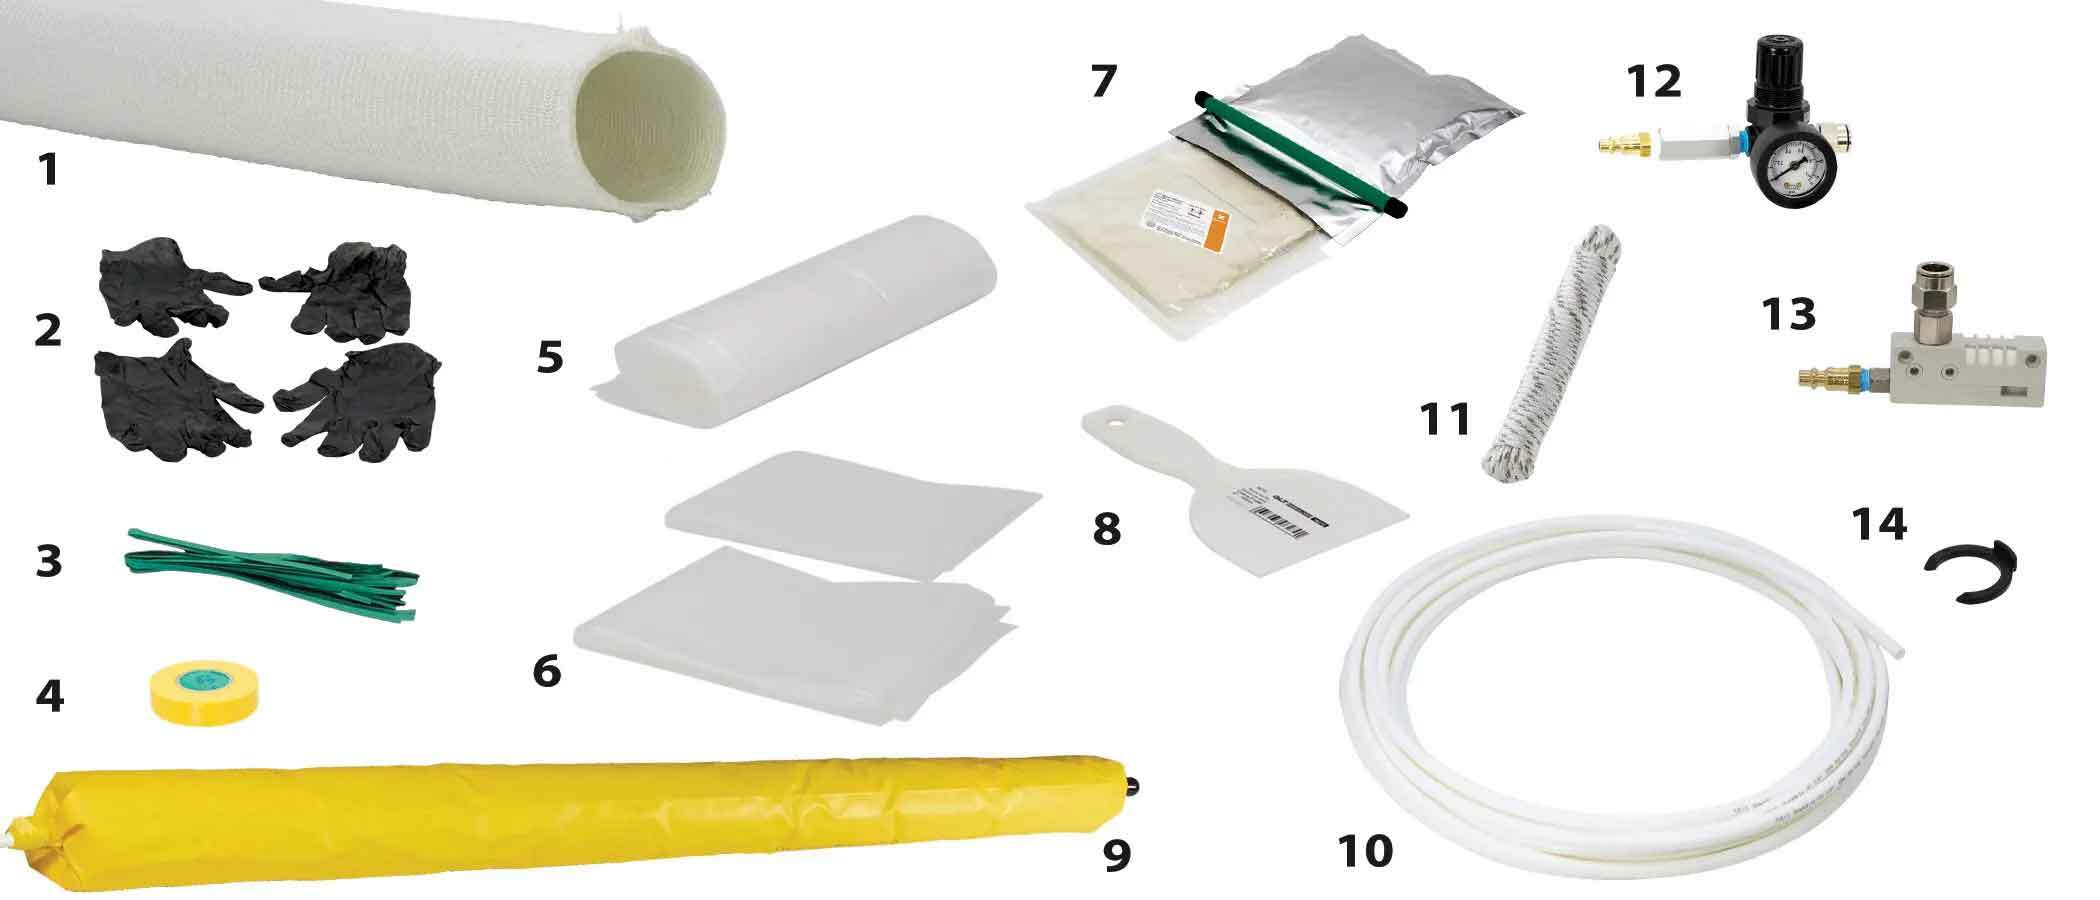
- Fiberglass Tube
- Gloves
- Wire Ties
- Tape
- Plastic Work Surface (36” x 60”)
- Protective Sleeves
- Resin
- Spatula
- Single-Use Packer
- Push Hose
- Pull Rope
- Regulator Assembly (Regulator and Gauge)
- Vacuum Assembly
- Fitting Lock Clip(s)
PLEASE NOTE: Regulator assembly, vacuum assembly and pull rope can be reused for future installations.
In addition to the kit, you will also need the following equipment:
- Sewer Camera
- Air Compressor
- Air Hose
- Wire Cutters
- Tape Measure
- Test Pipe
INSTALLATION INSTRUCTIONS
Instructions for installing a Spartan Patch Complete pipe patch kit are below. You can also watch the Installation Video for a step by step guide. Please read ALL instructions before beginning.
Step 1: Inspection and Preparation
- Inspect the damaged area with a sewer camera
- Clean the pipe with sewer cleaning tools to remove roots, debris or other objects that could prevent proper installation
- Inspect a second time to verify that pipe is clean
Step 2: Measure the Repair
- Insert camera into pipe and position the camera head at the center of the damaged area
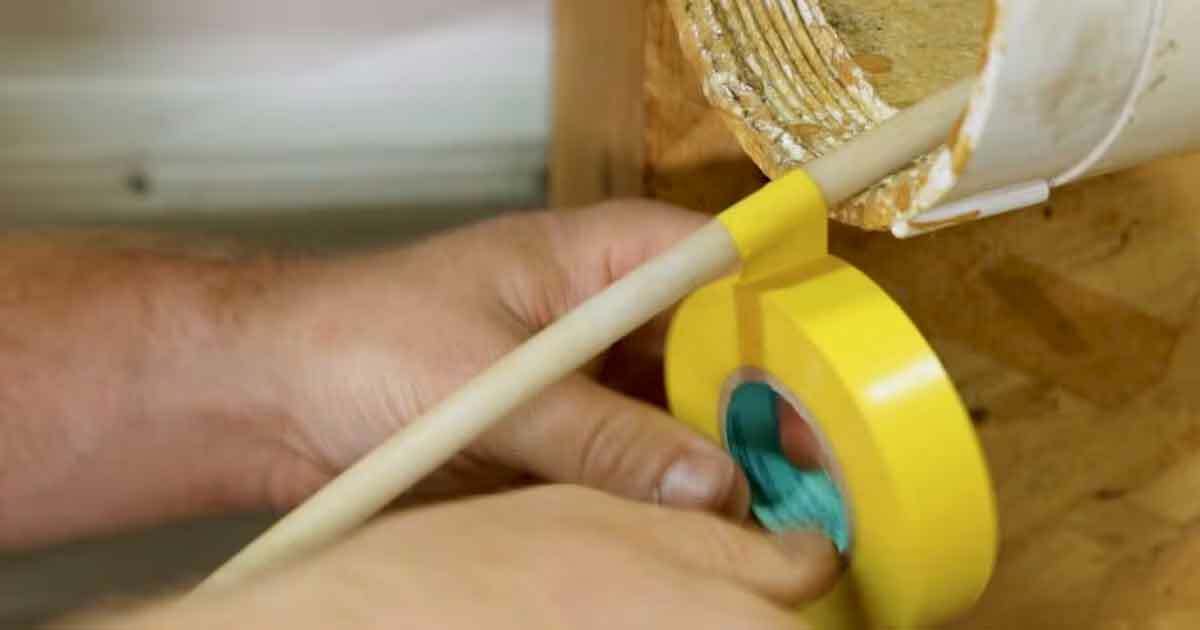
- Mark camera cable with tape at the pipe entry point
Step 3: Prepare the Packer for Test Install
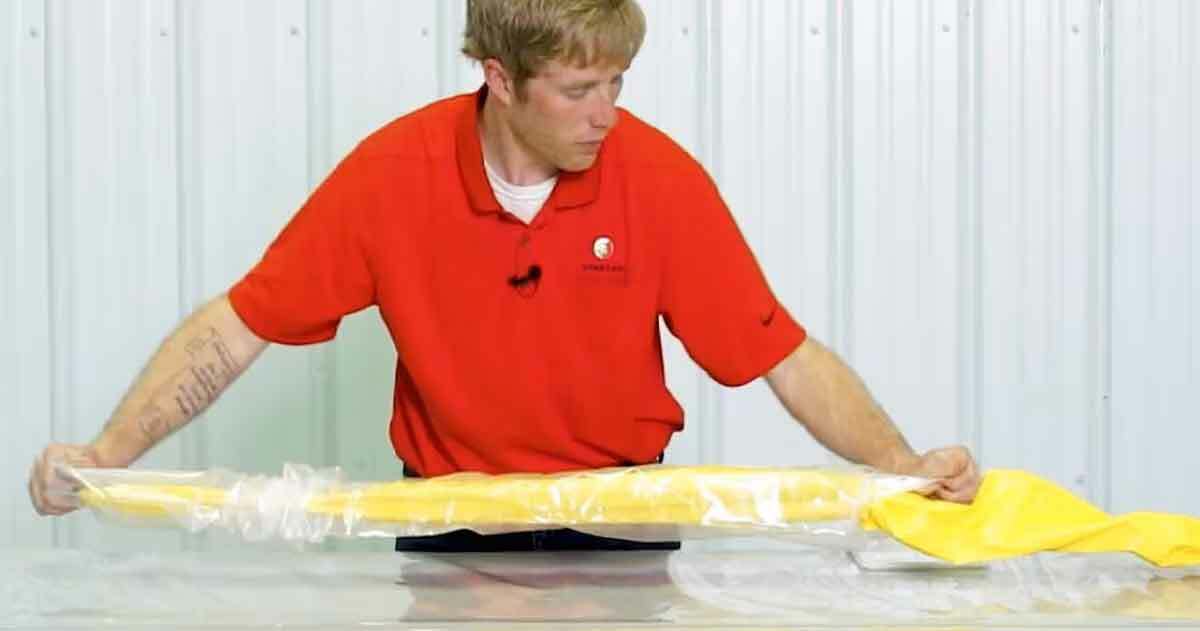
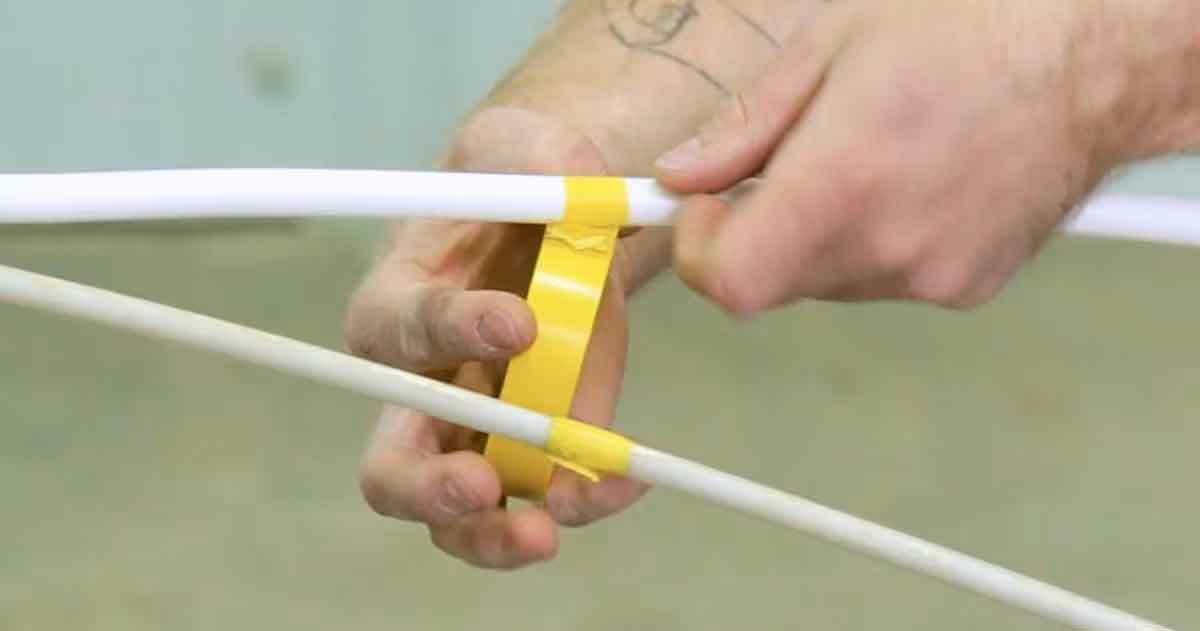
- Slide a protective sleeve over the packer, ensuring the packer and sleeve lay flat with the folded edges aligned
- Securely tape the protective sleeve to the leading end of the packer. DO NOT tape to the air fitting end
- Connect the packer to the flexible push hose using the push lock fitting until you feel it connect
- Secure the fitting with lock clip and tape the connection to prevent unintentional disconnection
- Tie a knot and tape the pull rope to the packer under the protective sleeve on the air fitting end
- Confirm rope is securely attached
Step 4: Transfer the Measurement
- Position the camera head at the center of the packer
- Transfer the tape mark from the camera cable to the push hose
Step 5: Perform a Test Run
- Twist 6 wire ties around packer and protective sleeve, squeezing packer tight with each tie
- Trim excess wire ties to ½ inch
- DO NOT install fiberglass onto the packer at this time
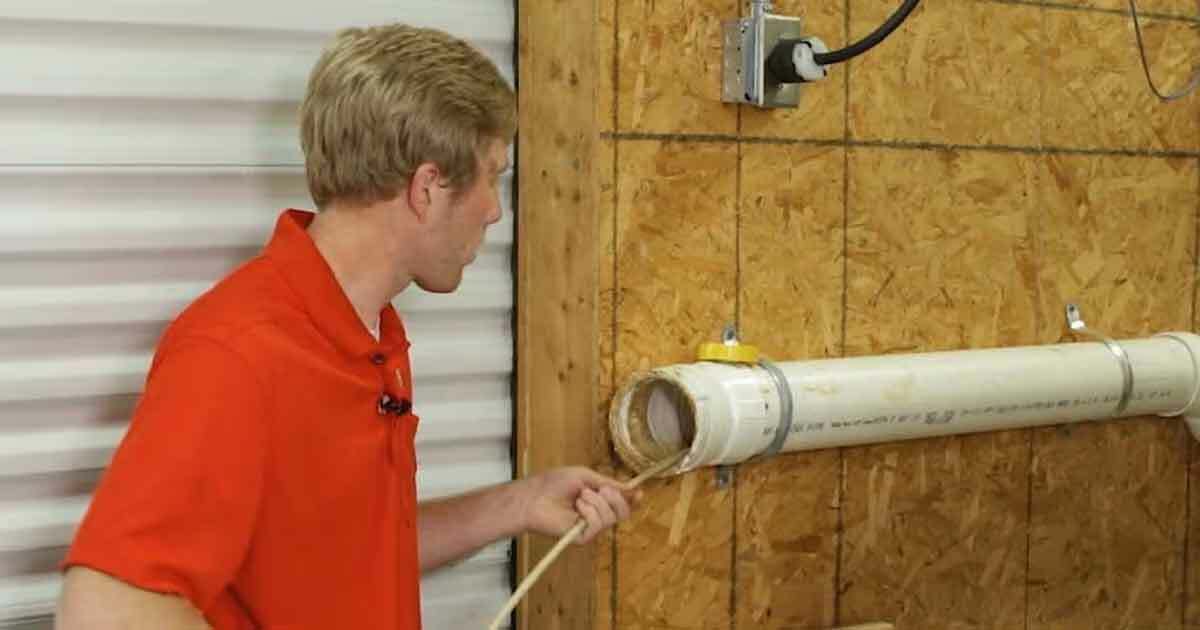
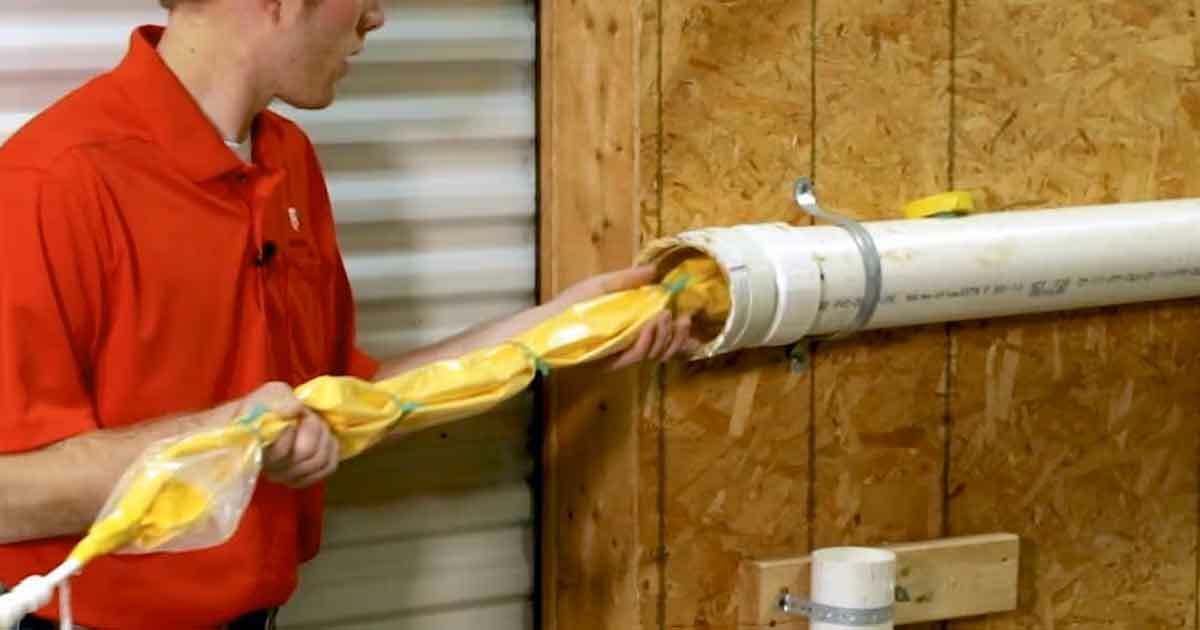
- Insert packer assembly to the point of repair using tape mark as a guide. DO NOT inflate
- Remove assembly and check for damage to sleeve or packer
Step 6: Replace the Protective Sleeve
- Remove protective sleeve and ties from packer
- Replace protective sleeve as outlined in Step 3
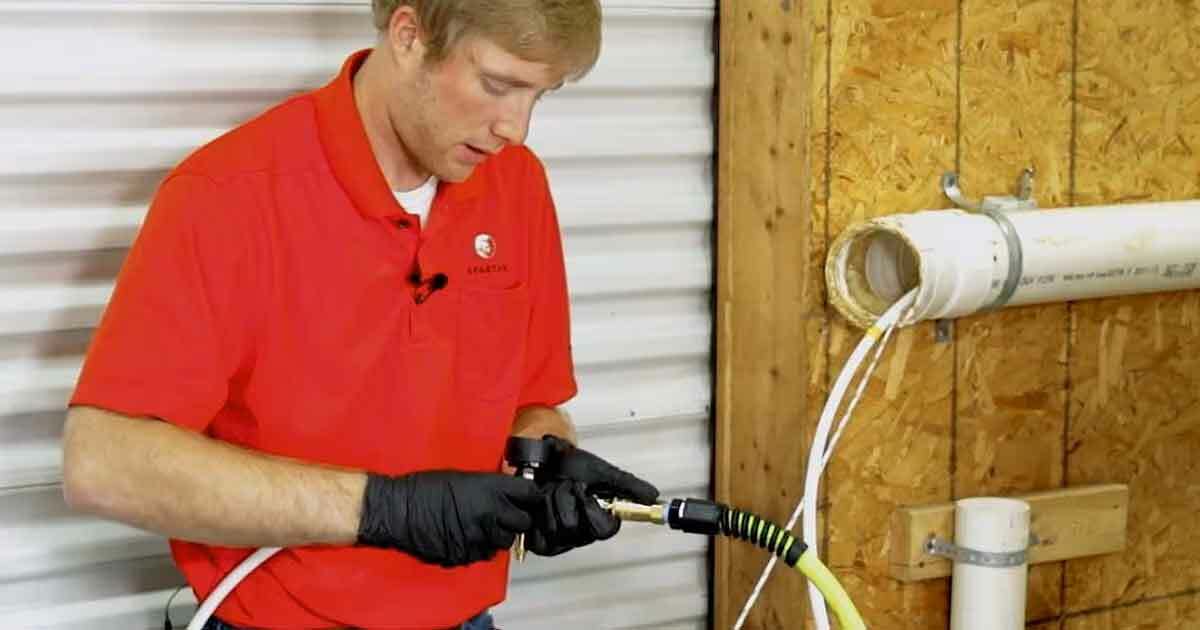
Step 7: Assemble Packer & Components
- Attach regulator assembly to push hose
- Turn regulator dial counterclockwise until you feel it stop. This prevents air from prematurely inflating packer
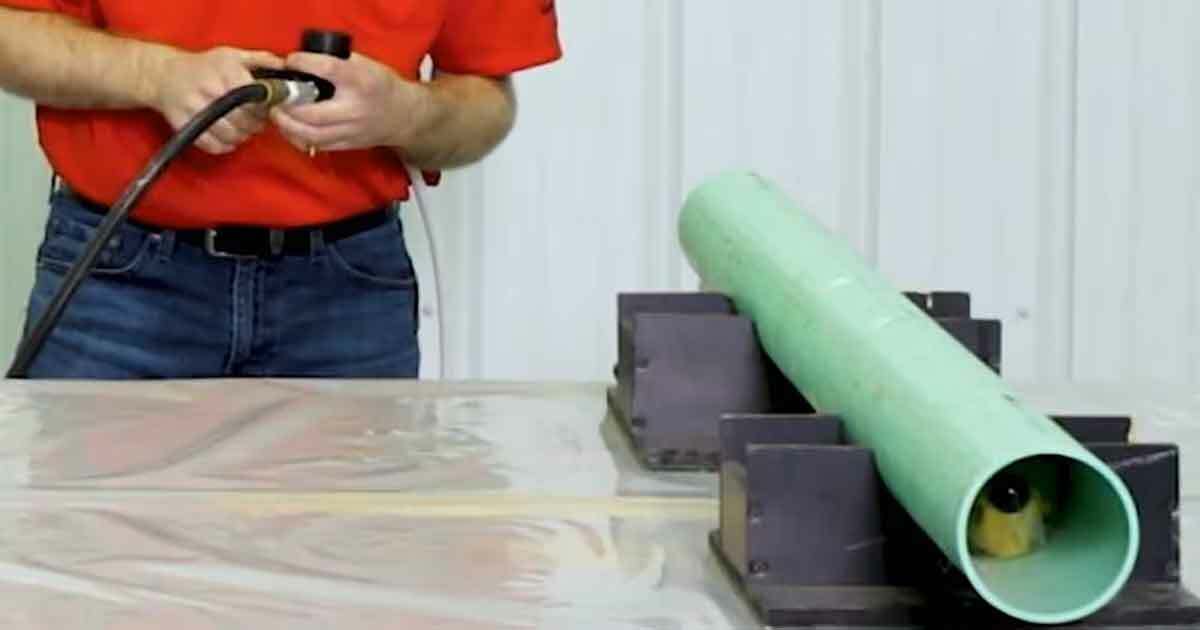
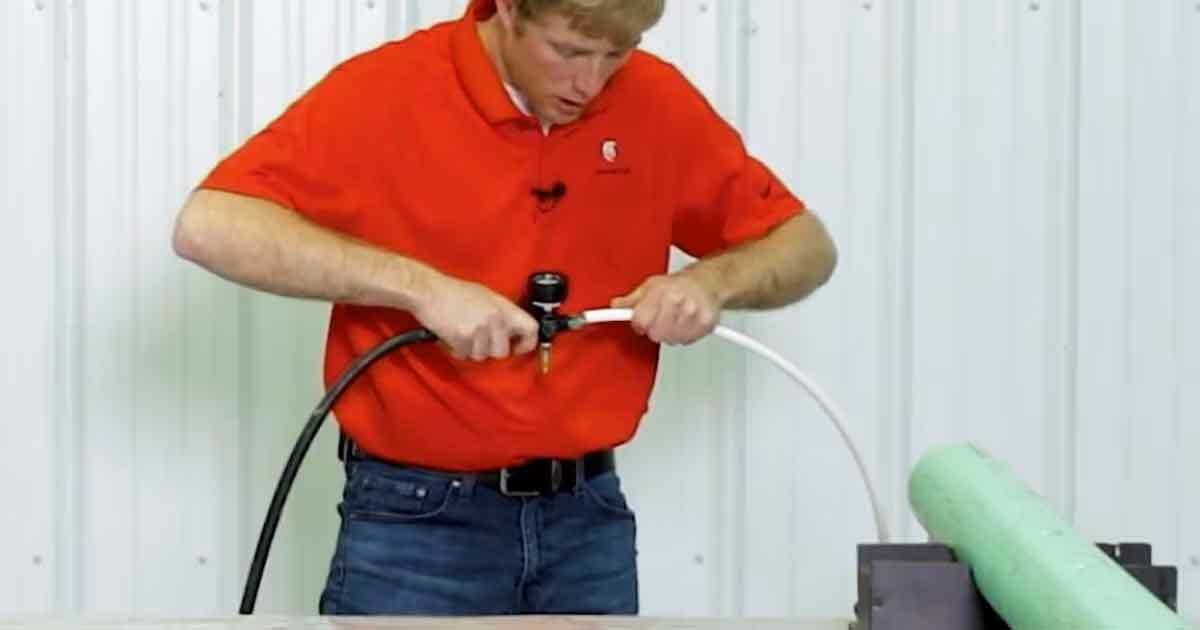
Step 8: Test the Equipment
- Using regulator, slowly inflate the packer in correct size test pipe to 5 PSI
- Wait 5 minutes and check for air leaks in packer or any connections
- Deflate packer using vacuum assembly
- Ensure packer and sleeve edges are aligned and flat
- Disconnect regulator from push hose and set aside
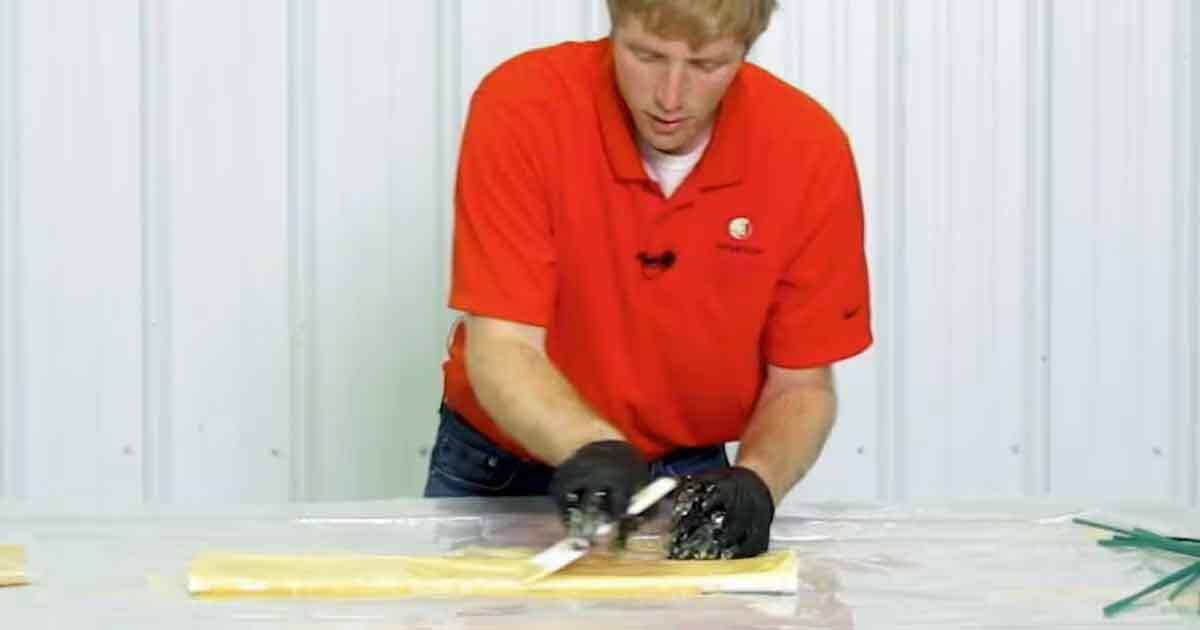
Step 9: Prepare the Patch
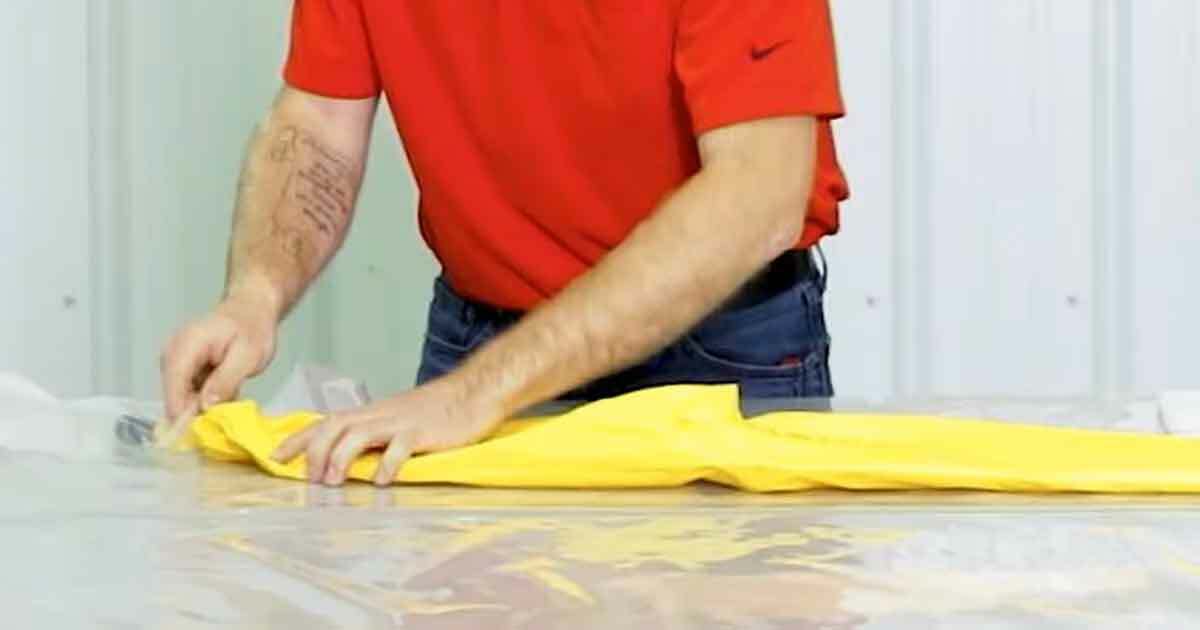
- Lay out plastic work surface, packer, fiberglass patch and resin bag on a flat surface
- Remove resin from outer bag and remove clip to remove aluminum pouch
- Mix resin thoroughly until it’s a consistent peanut butter-like color (Note start time)
- Pour half the resin on fiberglass patch and spread with spatula until fully saturated
- Flip fiberglass and repeat on second side
- Lightly scrape off excess resin with spatula
- NOTE: Depending on the size of the repair, you may not use the entire bag of resin
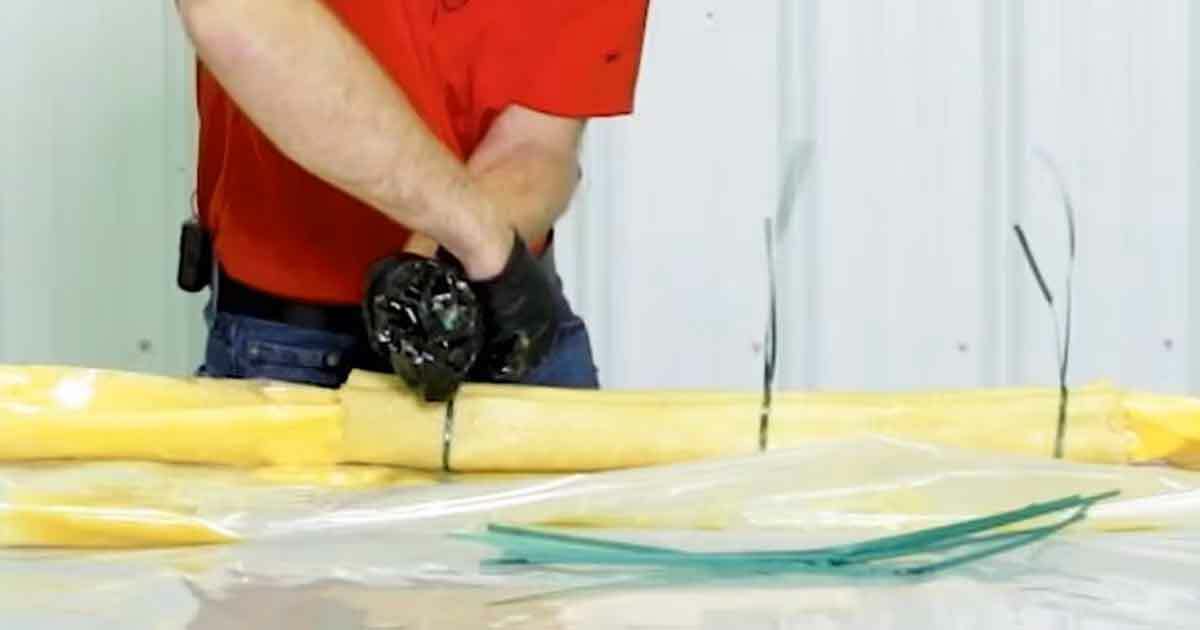
Step 10: Load the Packer
- Insert packer into fiberglass and center patch on the packer
- Secure patch tightly with wire ties, using 4-5 equally spaced on the patch and 2 on both ends of packer. Trim excess to ½ inch
Step 11: Inflate the Packer
- Insert packer assembly into the pipe using the tape mark from the previously determined measurement
- Connect regulator and inflate packer to 5 PSI
- NOTE: The wire ties will release as the packer inflates, allowing the patch to be pressed against the inner surface of the pipe
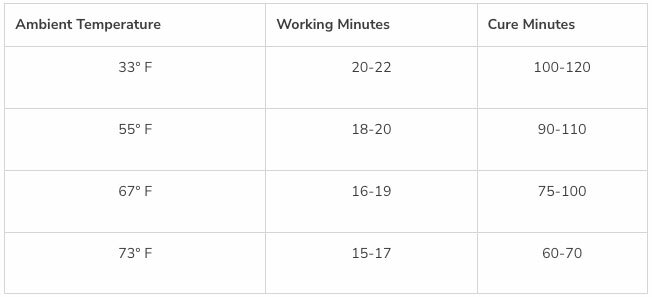
- Allow for sufficient cure time as instructed on cure chart
- Monitor gauge throughout the curing process for proper air pressure
Step 12: Deflate the Packer
- Use vacuum assembly to deflate the packer after the patch has fully cured
- Remove the packer using the pull rope. DO NOT use push hose
- Once packer is removed, inspect the repair with your sewer camera
Your Spartan Patch Complete pipe patch is done!
IMPORTANT NOTICE
- Installer must examine and determine whether the pipe is structurally sound for this product. Consult factory if necessary.
- The resin used in this system is ambient cure and is greatly affected by temperature. Store in a cool place.
- Working and curing time will be affected by temperature. Mixing temperature recommended at 70°F. The warmer the resin the less working and curing time! The colder the resin the more working and curing time.
- Ensure that the packer is protected in accordance with the installation instructions before wrapping the resin-impregnated patch around the packer.
- If the damaged pipe is not cleaned of sharp edges the packer could be punctured.
- This is a tested and proven system. Use ONLY Spartan Patch System Components.
Winter Resin Cure Chart
You can order replenishment kits from Spartan Tool.